To receive data, you must first verify your system's endpoint, or destination.
Only for engineer or implementer roles
- Log in to the Redox dashboard.
- From the navigation menu, click the Developer page.
- By default, the API Keys tab displays. From the tab options, click the Endpoints tab.
![Navigate to the Endpoints tab]()
Navigate to the Endpoints tab - Any created endpoints display. If you’re a new user, you should see a Redox API Endpoint already configured by default. You can use this for generating test requests. If you want to create a new endpoint, click the Create Endpoint button.Other methods or formats
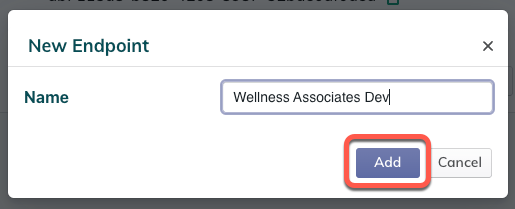
- A new modal opens with a field for the endpoint name. Enter the name and click the Add button.
![Add a new endpoint]()
Add a new endpoint Endpoint region field - The Settings page for the new endpoint opens. The Name field displays the endpoint name you entered previously.
- In the Redox API Endpoint field, enter the URL for this endpoint to receive data. The URL should use SSL/TLS encryption, which means it needs to start with https://.
- In the Verification Token field, click the Change Token button. The Change Verification Token modal appears, which has a blank field for you to enter the verification token.Verification token
- After entering the verification token, click the Save Changes button.
- Your changes are saved and the Settings page displays again. In the Verification Method field, select either the GET or POST radio button. We recommend using POST if your endpoint allows it. However, GET can be used for verification too.
- When all of your information is entered, click the Verify & Save button in the bottom right corner.Troubleshooting verification errors
- We receive the verification token and send a test verification request to you. If you selected POST as the verification method, you receive a request with the following payload body:If you selected GET as the verification method, you receive a request with this query string containing two values:Example: POST verification tokenjsonExample: GET verification tokenbash
- To verify your endpoint and save your settings, you must first verify that the verification token matches the value you entered in Connection Settings.
- To complete the verification test, you must respond to the POST or GET request with the challenge value that we provided in the test. You can add the challenge value anywhere in the body of the response.Example: Challenge valuejson


What about more secure auth options?