A connection is a partner organization that agrees to exchange healthcare data with you via Redox. A single connection may include one or more subscriptions (i.e., integrations) between your system and your partner’s system.
Connections are important because they:
- Represent a business relationship between you and another organization.
- Enable data flow between different systems.
- Simplify integration since you can build multiple subscriptions for one connection.
Check out organizations we already work with to find potential connections.
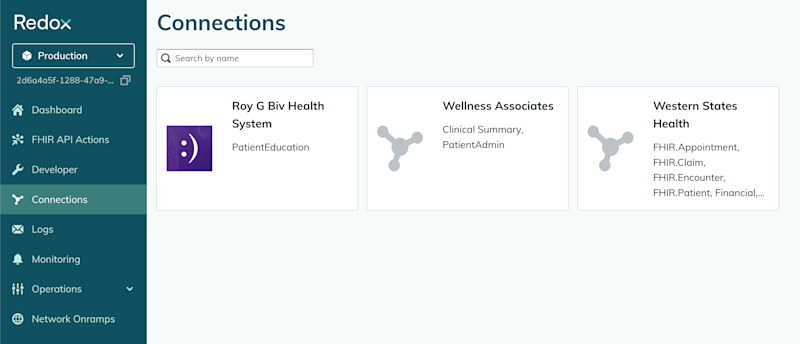
We help you establish connections with your preferred partner organization(s). You can view them on the Connections page of the Redox dashboard.

When you set up your Redox organization, there are two default connections to Redox Engine and Redox Health System. These connections are available so that you can configure and test your system with Redox.

Learn how to request a new connection.
A connection must have at least one subscription, but likely has multiple. A subscription is the bridge of data exchange between two systems. It links a source, destination, and data model to define how and what data is exchanged between two organizations.
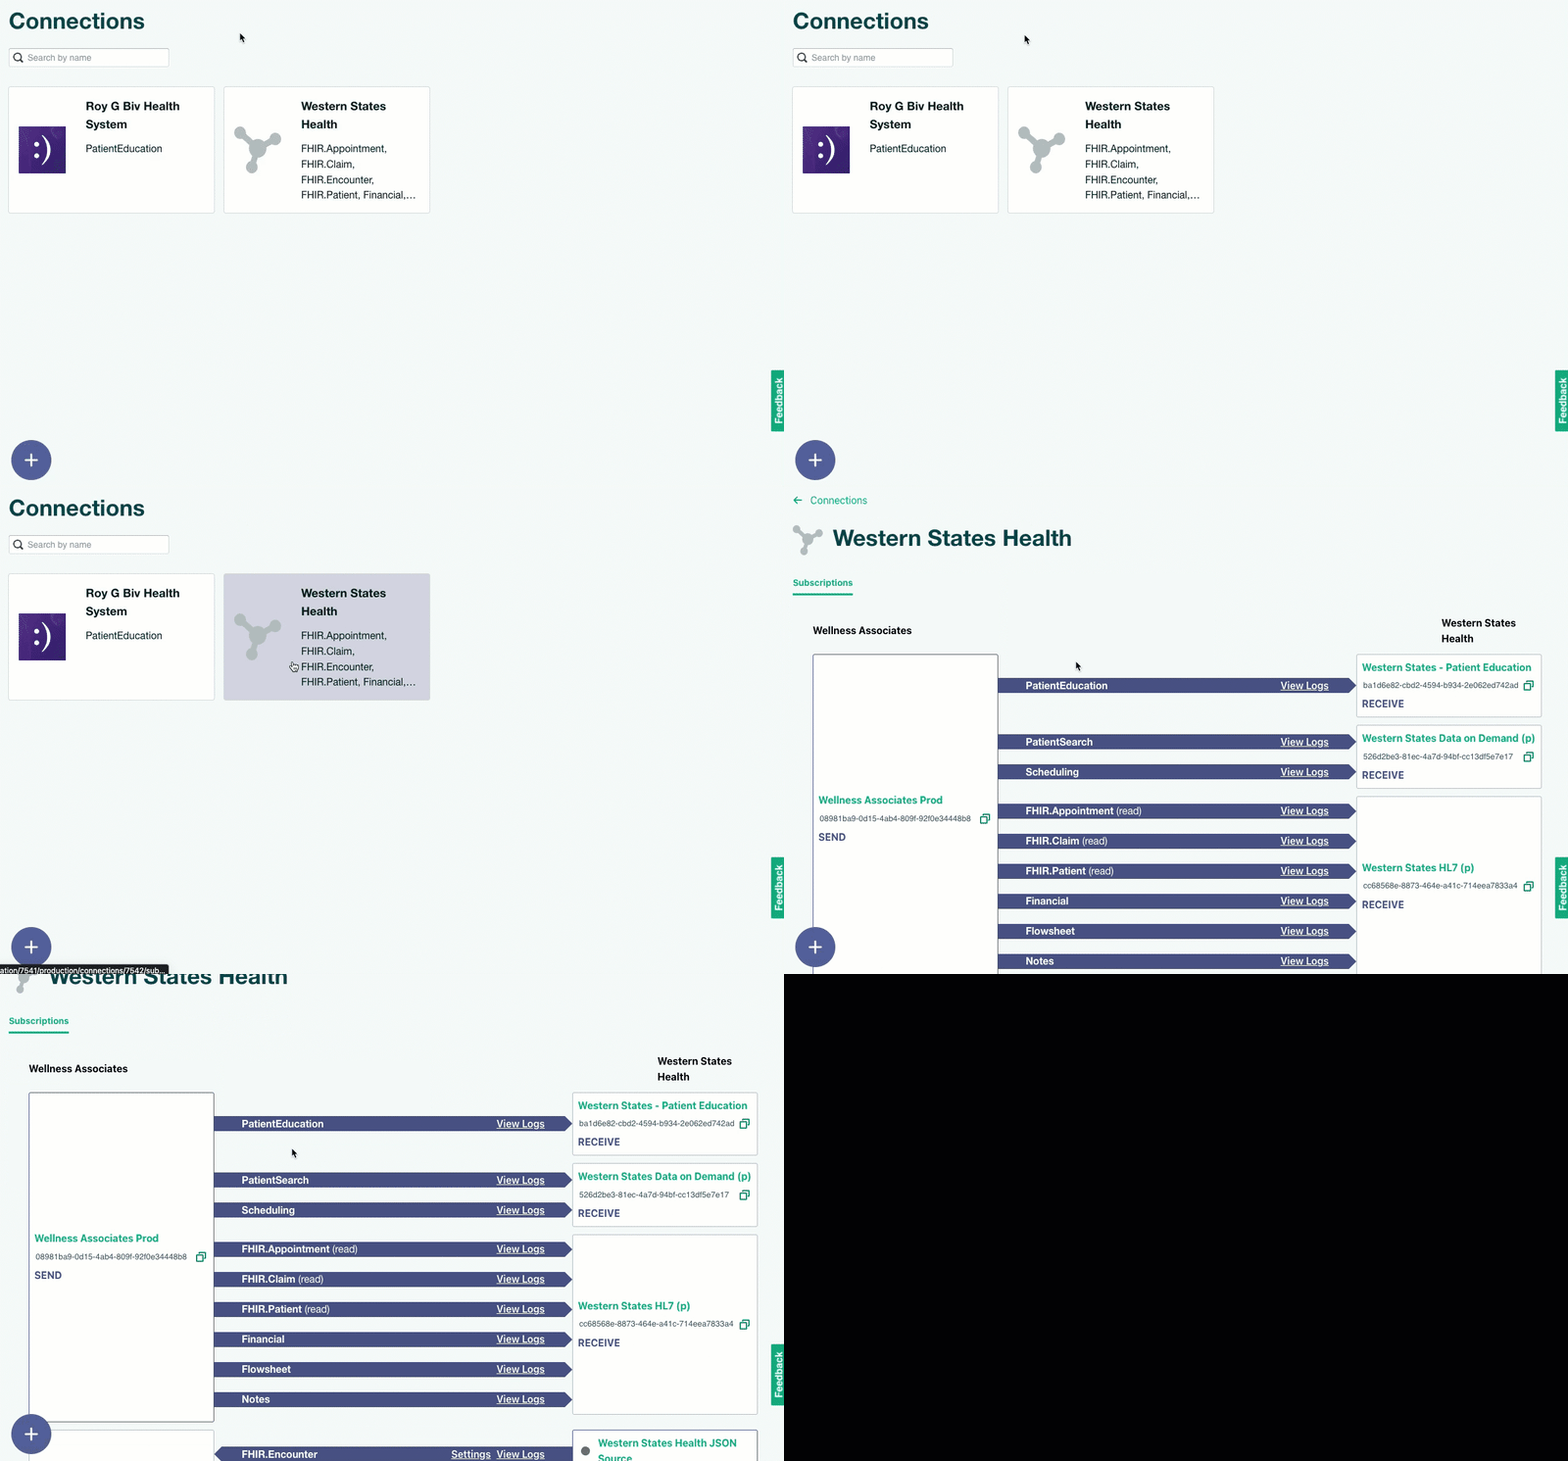
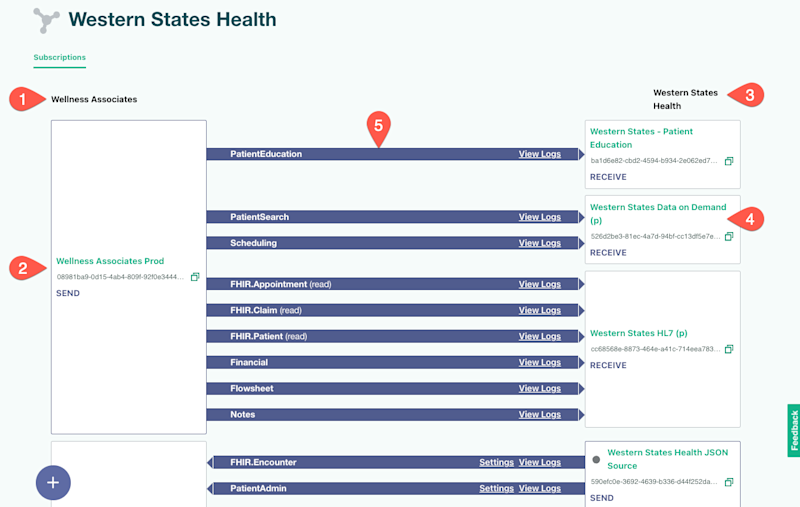
In the Redox dashboard, you can view your subscriptions when you click any of the organizations on the Connections page. The Subscriptions page opens with a visual of the sources and destinations used, the type of data exchanged, and the direction of traffic.

Subscriptions show the “what” and “how” of each implementation (i.e., integration) with your Redox connections.

Description | |
|---|---|
1 | Your Redox organization. This list shows the source or destination in each subscription that you own. |
2 | The name and ID of the source or destination. Click the name to open the settings or the copy icon to copy the ID. If any of these use a VPN, a status icon with a color code shows the current VPN status. Learn more about VPN statuses. You can also navigate to the Developer page to view all your sources and destinations independent of their subscriptions. |
3 | Your connection’s organization. This list shows the source or destination in each subscription that your connection owns. |
4 | The name and ID of your connection’s source or destination. Click the name to open the settings in a read-only view. Or click the copy icon to copy the ID. If any of these use a VPN, a status icon with a color code shows the current VPN status. Learn more about VPN statuses. There might be duplicate IDs if your connection has one source or destination for asynchronous and synchronous traffic. It might look like your connection has extra sources or destinations, but it’s only splitting them out by traffic type. |
5 | The type and direction of traffic. The type is the Redox data model or FHIR® resource that’s being exchanged. The direction of the arrow for asynchronous traffic goes from the source to the destination. This represents one-way traffic that’s delivered without waiting for a response. The direction of the arrow for synchronous traffic shows traffic going from the destination to the source. This represents two-way traffic: The source sends a query and the destination responds with results. The number of arrows matches the number of subscriptions you have. To see another view of how data travels from source to destination, learn about logs. |
A subscription must have one source and one destination. Sources and destinations are the building blocks of data exchange:
- A source represents where a messages starts (i.e., SEND, REQUEST). Think of a source like the address in the “From” line of an email header, which specifies where the message originates.
- A destination represents where a message is delivered (i.e., RECEIVE, RESPOND). Think of a destination like the address in the “To” line of an email header, which specifies where the message should go.
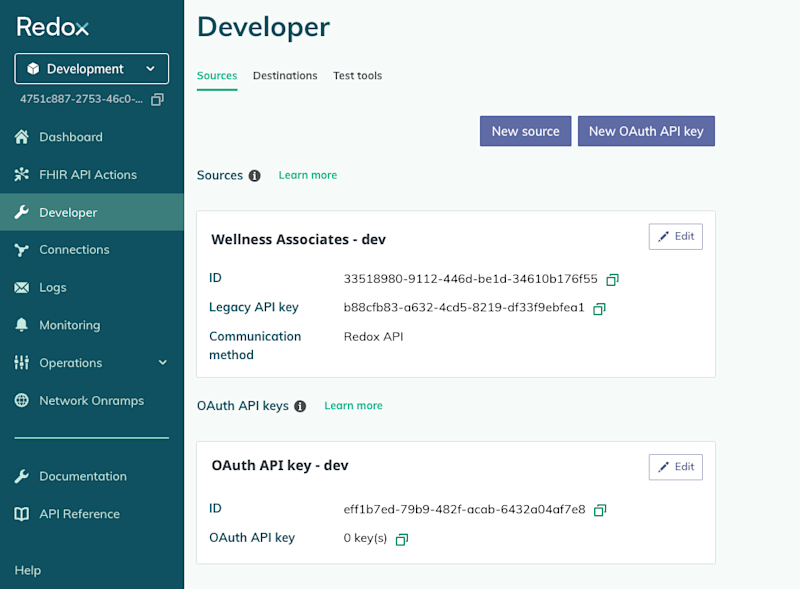
You can view and manage sources and destinations on the Developer page of the Redox dashboard.

One of the main benefits of Redox is that you can typically use the same API source and destination to exchange data with all of your connections. However, you might want to use unique sources and destinations for each communication method. .