
This article is specific to SSO destinations, or SSO configs as they’re referred to in the Redox dashboard. A health tech vendor needs an SSO destination to launch an app from an EHR system. Learn more about handling app launch (SSO).
- A user must be assigned to an engineer role to manage destinations. Learn about user roles.
- Decide on and configure your supported authentication standard (e.g., SMART on FHIR®, SAML Web Browser Profile) to handle app launch.
- Log in to the Redox dashboard.
- From the navigation menu, click the Developer page.
- By default, the Sources tab opens. Click the Destinations tab.
- Any configured destinations display. Click the New button > New SSO config option to create an SSO destination.
- A new modal opens with a field for the name. Enter the name and click the Add button.
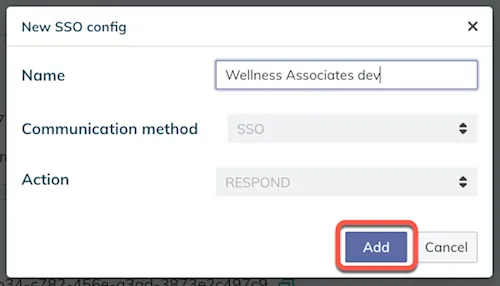
Add a new SSO destination - The Settings page for the new destination opens. The Name field displays the name you entered previously.
- Click the Edit button to enter the SSO settings:
- SSO URL: Enter the URL that will receive POST requests. The URL should use SSL/TLS encryption, which means it needs to start with https://.
- SSO error URL: Enter the URL where the requestor should be redirected in the event of an error message. We recommend a static error page separate from the SSO service.

Enter SSO URLs
- Under the Authentication section, click the Edit button.
- In the SSO secret field, click the Reset secret button.
- A confirmation modal appears. Click the Reset button.
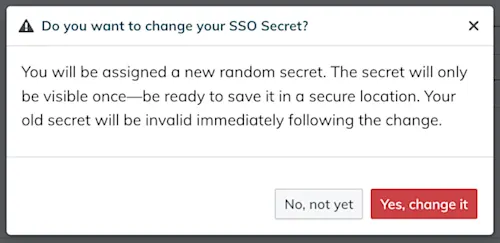
Set an SSO secret - The new secret value displays only once. Click the Copy icon to copy the new secret value, then store it securely.
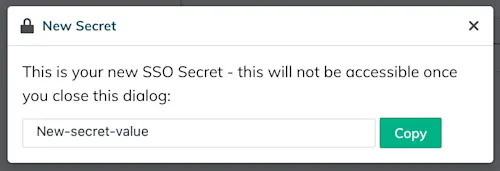
New SSO secret value - Click the Save button to finish the SSO destination setup.

Configure the secret value
- Log in to the Redox dashboard.
- From the navigation menu, click the Developer page.
- By default, the Sources tab opens. Click the Destinations tab.
- In the table, click the SSO destination row you want to delete.
- The Details page opens. Click the Delete button in the top-right corner.
- A confirmation modal appears. Click the Delete button to proceed.

Delete an SSO destination - The SSO destination is deleted.
